At the same time I decided to build a kiln, I was building my log cabin. I've always like log structures but the cabin was the first log structure I ever built. I had worked out problems dealing with logs when I built the cabin which gave me confidence when I built the kiln shed after. These projects took time for me. Construction would happen in the blocks of time that I wasn't throwing, firing, and showing.
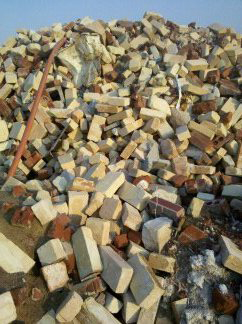
As all of this was happening, I was gathering materials for the kiln and kiln shed; like the bricks, tin, lumber, shelving and kiln furniture. All of those things showed up when I needed it. My bricks for example, they came from a demolished brick kiln located in Sanford, North Carolina. Each brick was hand moved, palletized, re-moved, and then cleaned with a hammer before being laid into the kiln. I think I picked up each brick ten times --that's if there were no problems. But, I didn't have to pay anything for them. If I bought them new it would have been $4 a brick and this is a 10,000 brick kiln which would have cost minimum $40,000 just for the brick not including other materials.
I bought the property where I would build my kiln in 2013. The property is in Moore County and is special to me because it's close to where W. H. Chriscoe's house and pottery was. He is my great-great-grandfather and one of the original five Seagrove Potters.
After the cabin was built, I was able to focus my construction efforts on the kiln shed which began in the summer of 2014. This kiln and shed is an evolution of all of the kilns I've fired over the years. I had the time to design it exactly how I wanted.
I want to share my progress of the kiln construction. It's been quite the undertaking for me. The following series of posts and photos show the progression of the build.

This is timberframe type construction for the kiln shed. I chose the timberframing method because I've always loved log-type construction. It's a very strong and durable method of construction. The shed is tall because I've had experience firing many wood kilns and almost all of the sheds are too short. During a firing, you may find yourself in a cloud of reduction smoke and it gets hot. I didn't want that for my shed. Aesthetically, it's natural. It's what I want to be around when I'm making and firing pots.
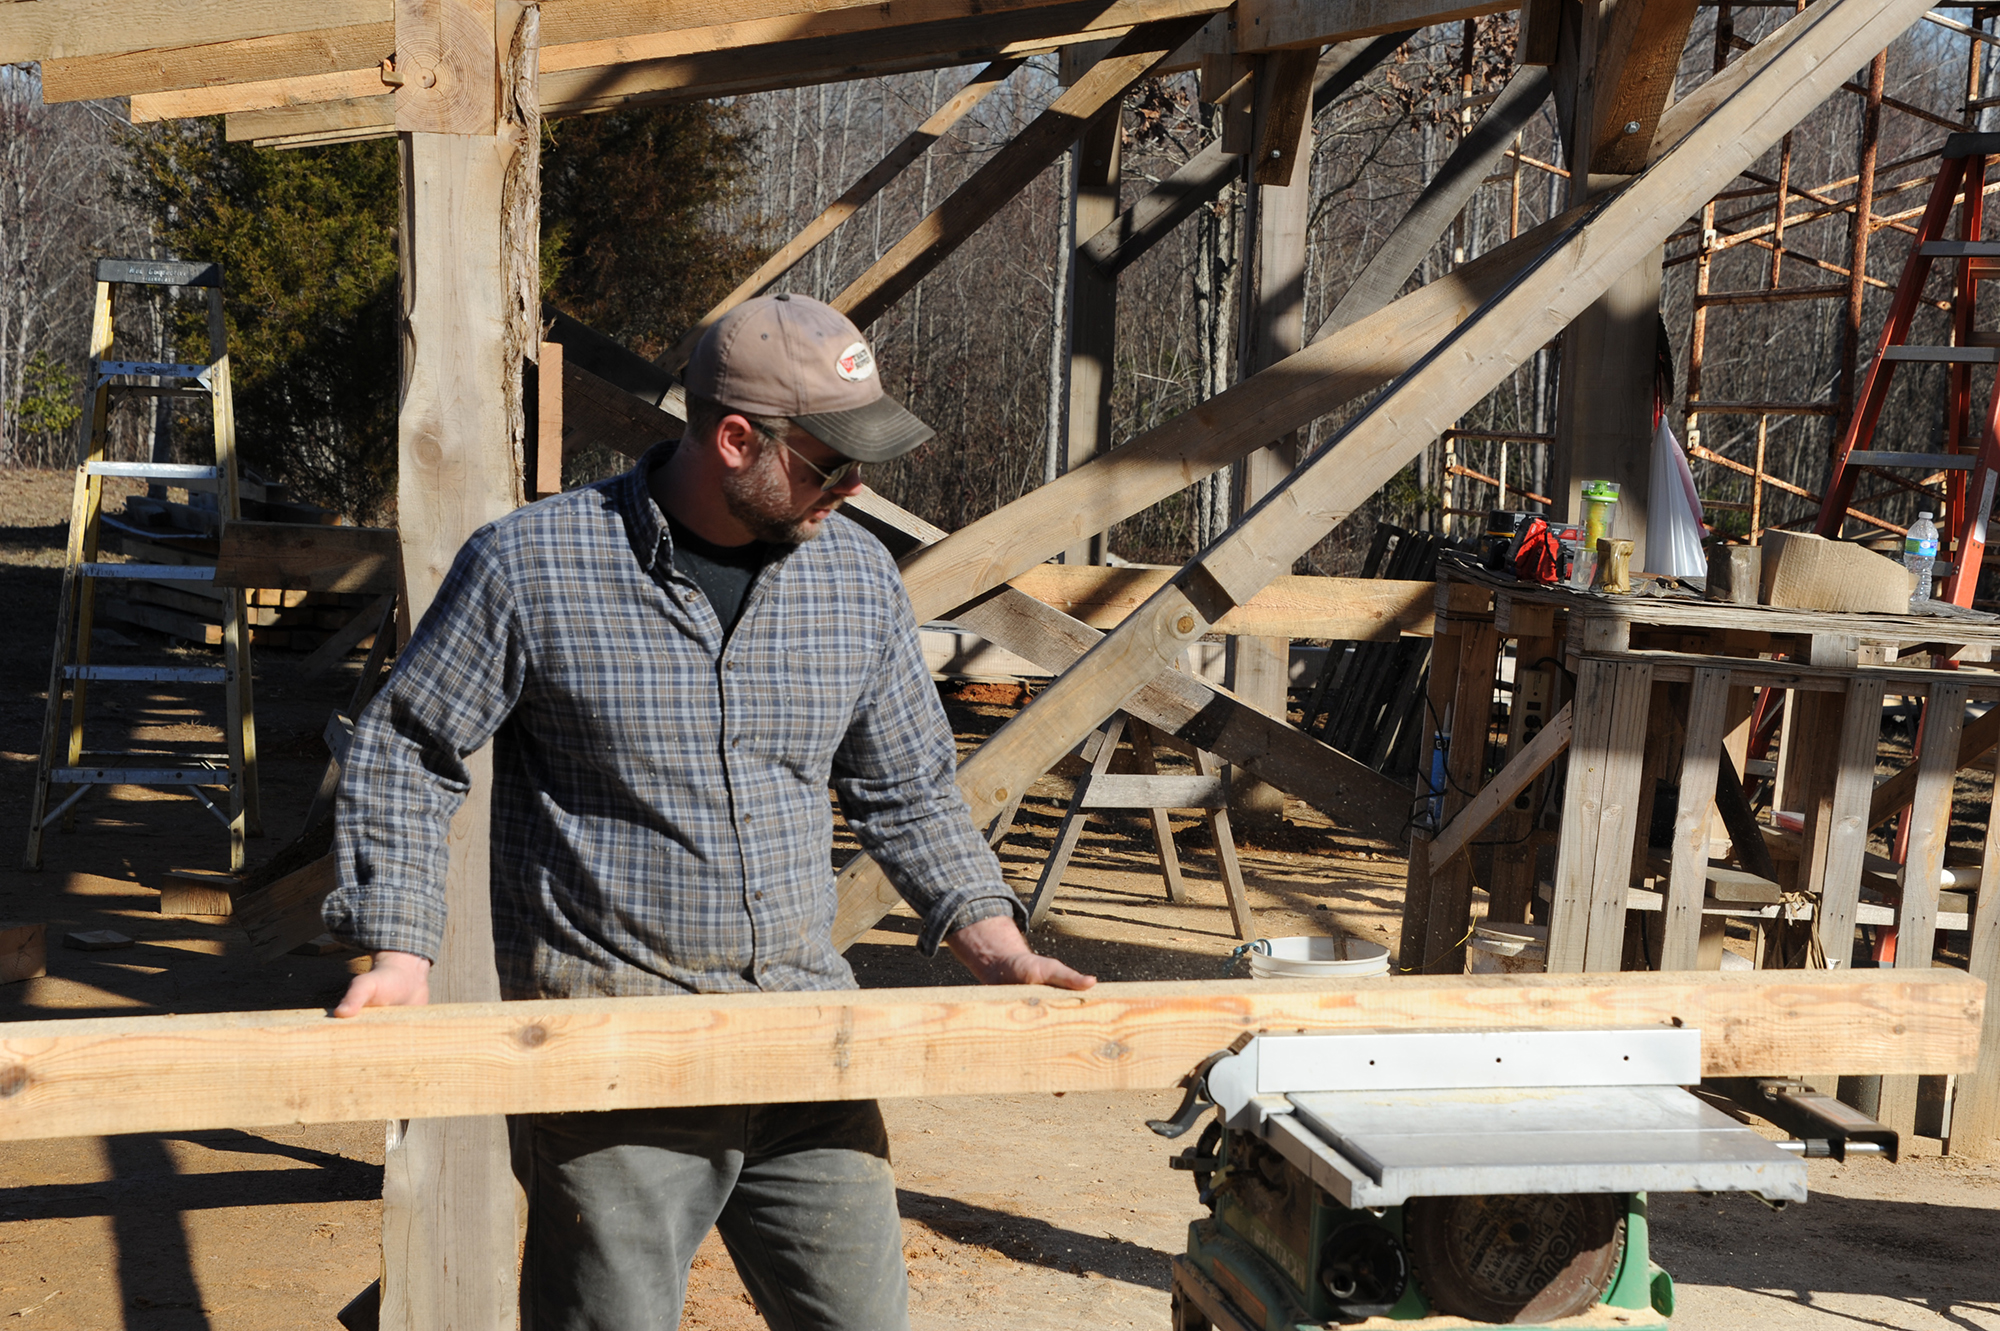
This is rough cut timber from a local saw mill, so all sizes are a bit different. I'm ripping down these 3"x4"s to be a more consistent size so the tin can lay flat.

I had to finish every log by hand. The tools we use today aren't really designed for the large timber I was using, like this is 5" x 7".

I found this old tin on a collapsed 100-year-old barn. This old tin probably has more life left in it than the tin we buy today. I also like the look of the weathered tin. It looks like it belongs there, it's not foreign to the location.

Some of the tin was newer so I drew out on paper where I wanted each silver stripe so it would be pleasing to the eye but look unintentionally placed.

This tin is now getting a second life on my shed. It's amazing how much it cleans up and straightens out when it's put up.
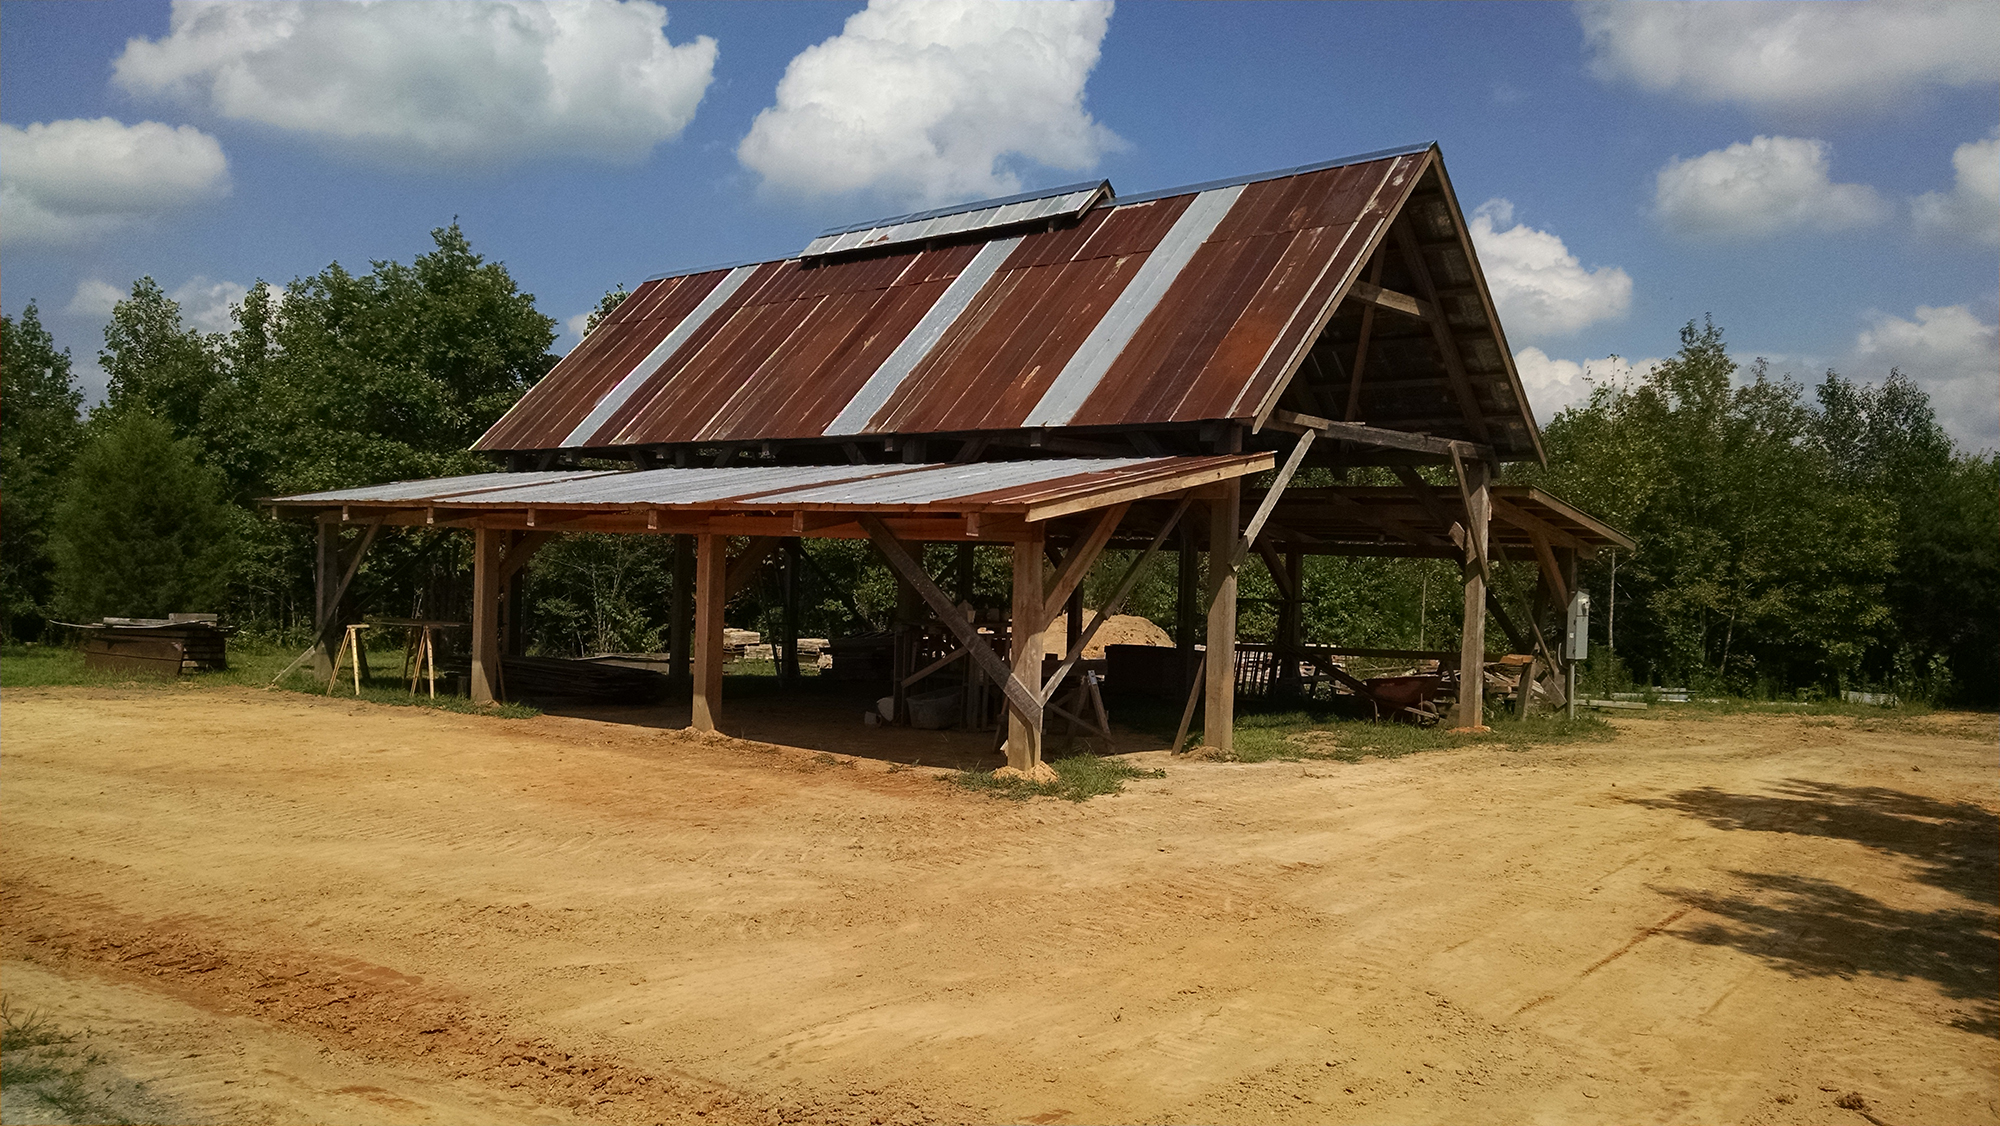
The shed was finished in the fall of 2015. Now it's time to build the kiln.
In October of 2015, I began to move earth and construct the arch of the kiln. I wanted to try something different for my arch.
Chain and catenary arch construction is done by hanging a chain to trace the shape that it makes to build the arch. That makes a strong arch but it'll eventually fail, collapsing, in the bottom third of the wall.
A barrel creates an arch that is any part of a circle. When it's initially built, it will still be a curved arch, but once it's fired, everything will expand and the top will flatten out in cooling and eventually fall in.
A barrel creates an arch that is any part of a circle. When it's initially built, it will still be a curved arch, but when fired, everything will expand and the top will flatten out in cooling and eventually fall in.
The point for me, was to find an arch design that's in between the catenary and barrel design. I found that bending a pipe will create a line right between the two. I think it will be a stronger arch--I may have created a new problem too but we'll see!
I've never seen the arch building technique that I've used done before and I'm confident it will work. I spent several months working out the details of my arch design on my own and decided to go for it.

Digging the foundation of the kiln was much harder than I thought it was going be. Not the digging itself, because it was done quickly with a backhoe; but calculating the depth and step heights were a challenge because they had to be planned perfectly. I began to realize I had to know almost everything about this kiln in order to dig this hole.

The green line on the plywood is what a catenary arch would have looked like. My method used pipe. Barrel arches eventually flatten out and fall in. A catenary will eventually fail in the sides and collapse. All kins will eventually fall in, but I wanted to try something different. We'll see, I may have solved a couple of problems or maybe I just created a couple more!
I had already almost completely planned the kiln by this point, however I did end up spending a lot of time working on the depth and steps to ensure the arch was not out of the ground. I did not want the arch out of the ground for two reasons: 1. to save money and buttressing through allowing the Earth do the job, and 2. I wanted to be able to stand at the tallest part of my kiln and still see the person stoking on the other side.

I started by standing the ribs up and secured them in place. The strips are then screwed down into the ribs.

When the strips were screwed into the ribs, the form became irregular. So I had to sight each strip to make sure I wasn't altering the natural more perfect curve of the strips.

Jack Troy, Chad Brown and Magdalene Odundo

Capping kiln with 5 layers of fiber.

David, Wes, Chad, Erin, Julie Rose, Guy, Jimmy, Crystal, Kirsten
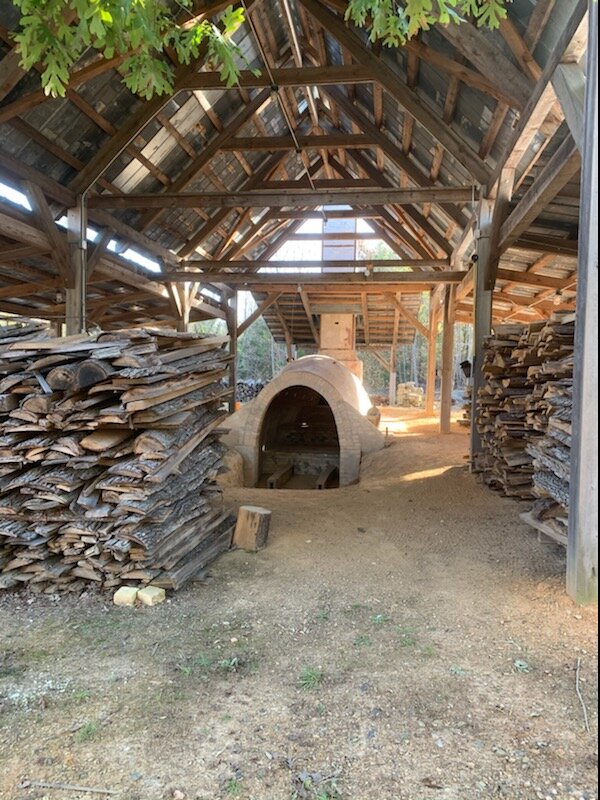
Having completed the arch form and sighting every single strip, I was satisfied to move on to the next phase of the build--bricking the arch and then moved on to building the chimney.


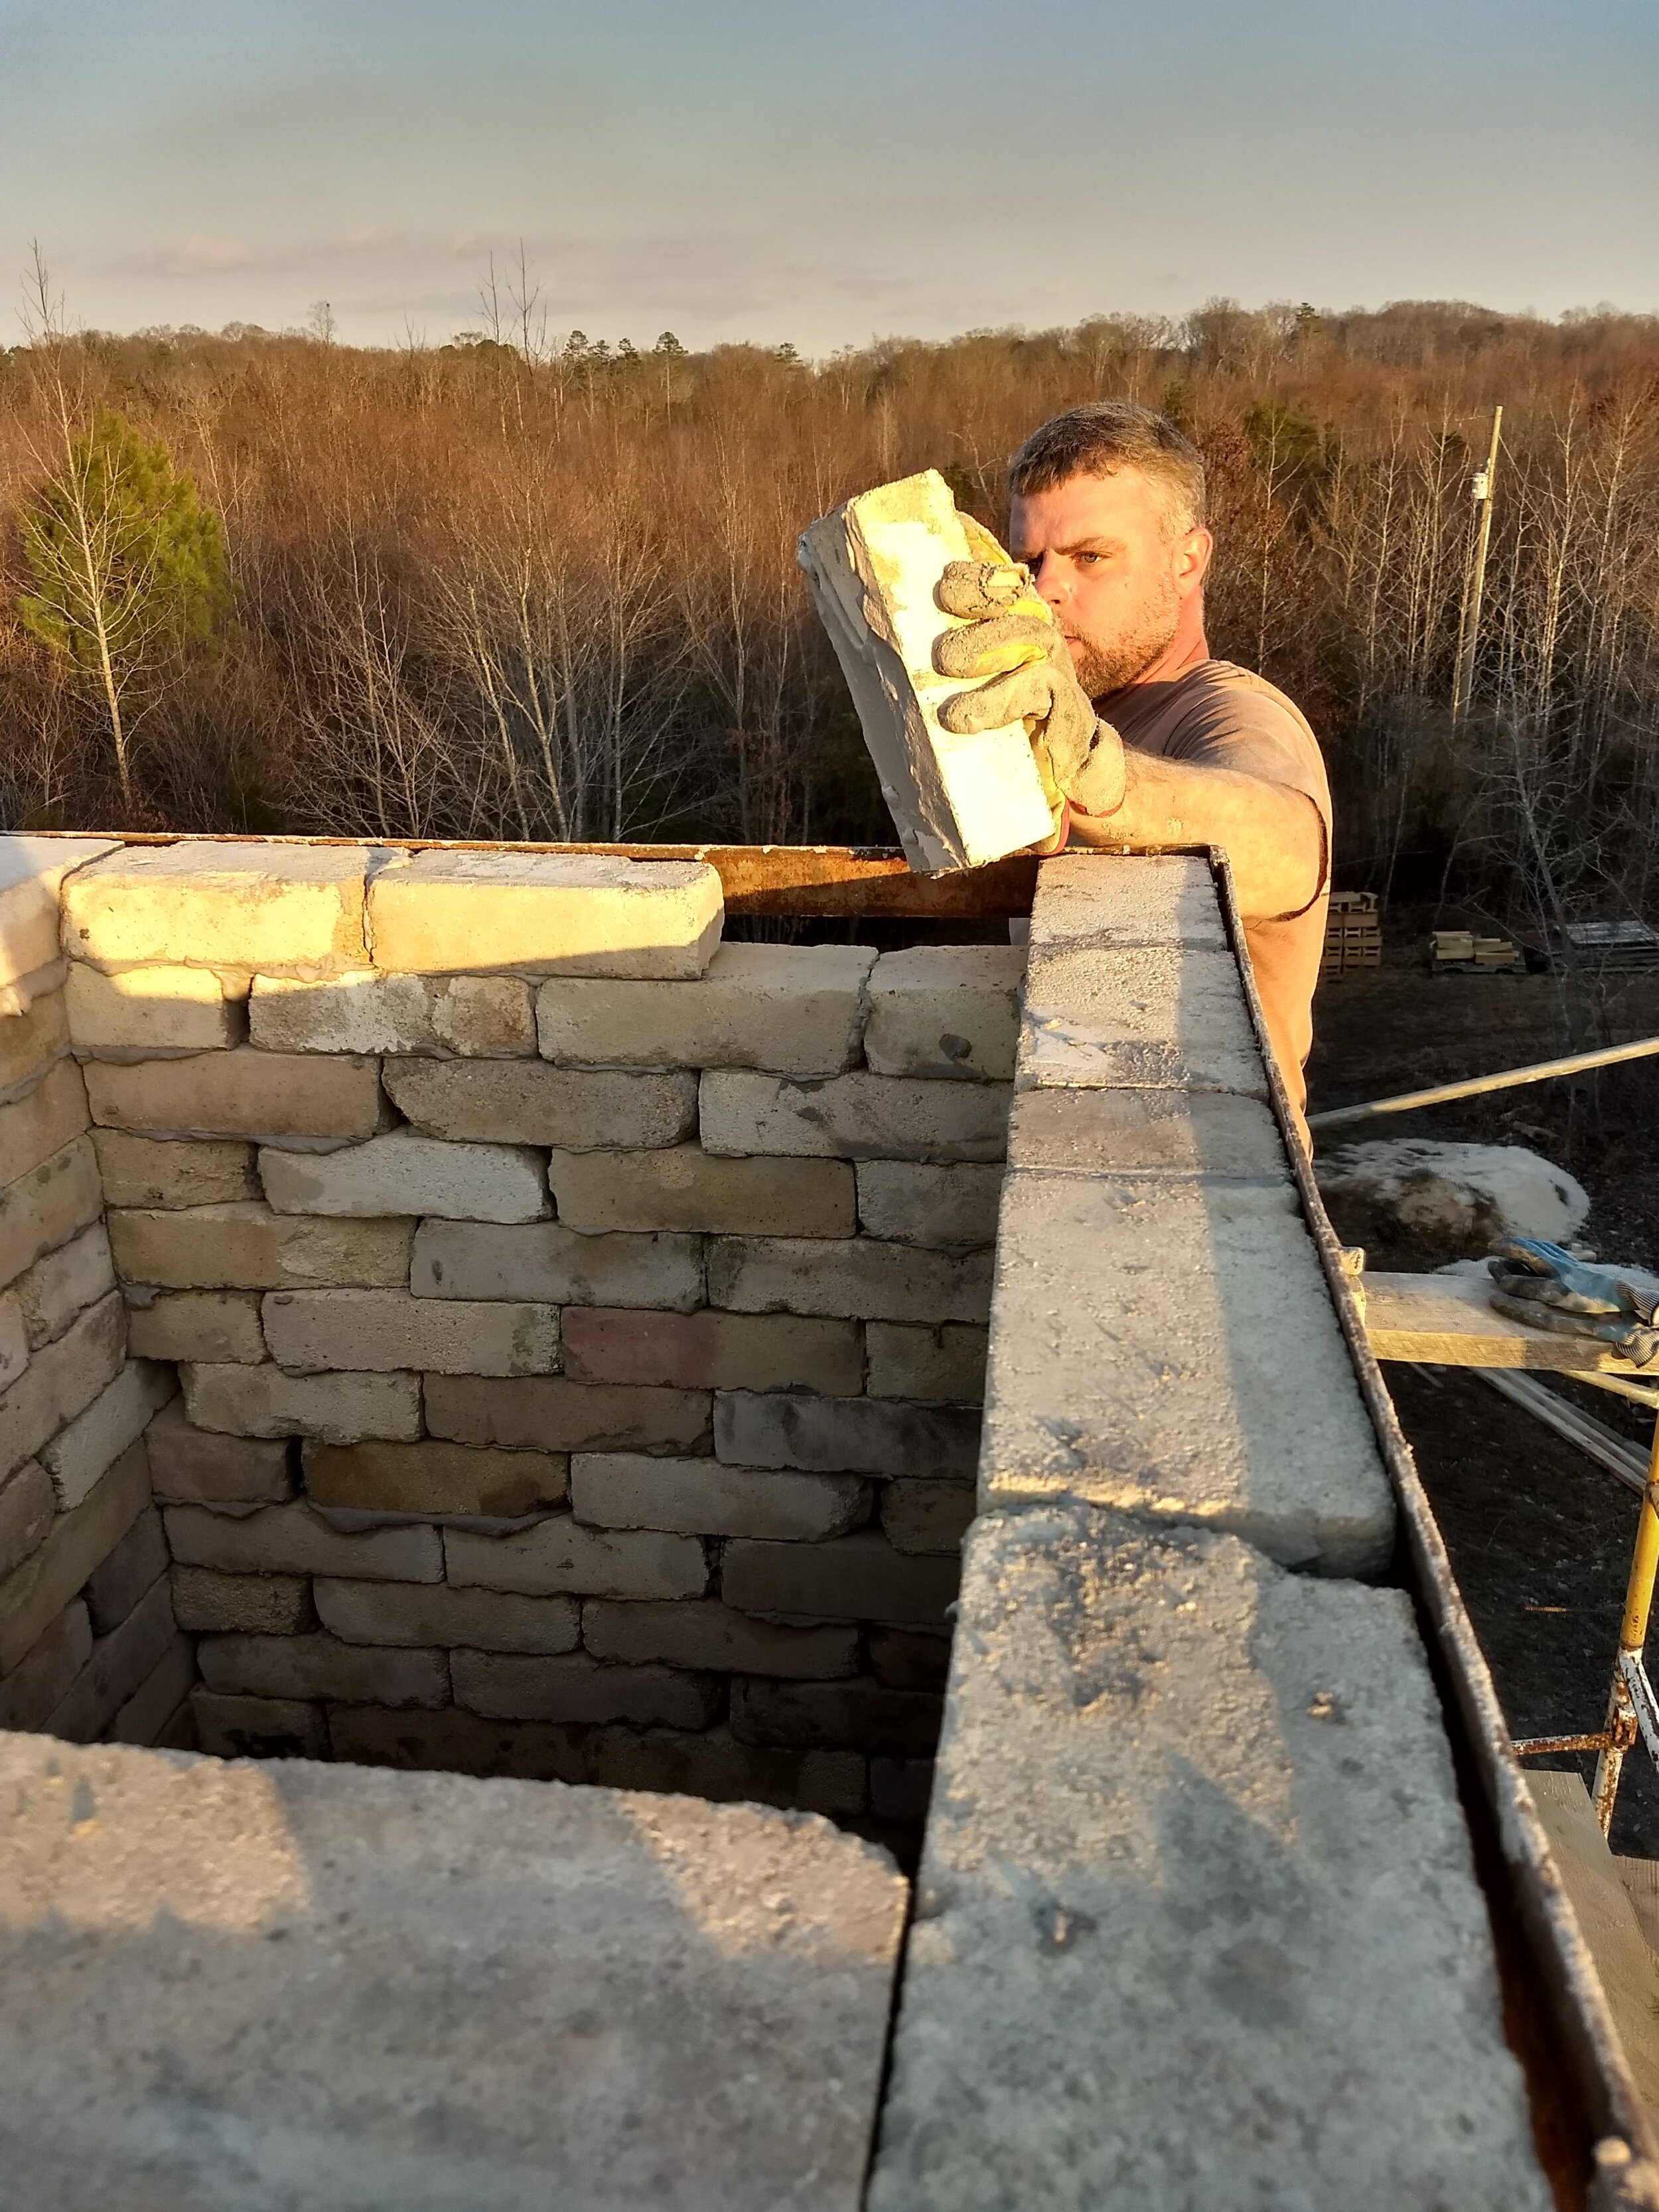

The chimney was the last of brick-building for the kiln so I moved onto one of the last few steps of filling the back chamber with white flint rock gravel.


All done!!